Nomad Sculpt: 3D CAD on the iPad
How I made an awesome Raspberry Pi enclosure that doesn't work (yet)
Around March 12, I finally got myself off the ground with Nomad Sculpt – an iPad-friendly CAD modeling app, which works nicely with my iPad Pro and Apple Pencil 2. Here's what's happened with my first attempted project (a 3D-printable kiwi bird enclosure for a Raspberry Pi serving Wikipedia via Kiwix), plus a few useful tutorials and my favorite adaptations to upgrade the tactile experience.
Getting started
The app is pretty intuitive, and became much less intimidating after I learned what most clay artists would already know: start by sticking shapes together, THEN do the sculpting! For some reason, I'd gotten hung up on how the sculpting tools weren't drastic enough to make complex shapes out of a single sphere. D'oh.
I believe this is the tutorial that gave me the first few steps; I only watched about ten minutes of it, but it gave me the bare bones, including mirroring objects so they'd stay linked and symmetrical.
Here's the tutorial that really got me off the ground; it's a rapid-fire tutorial on sculpting a little ghost figurine, which runs through a ton of useful tools and techniques. I had to slow it down to catch some parts.
Here's where I learned how to use face groups and the mask/extract tool to create a hollow shell.
And finally, the official man page for Tools is really helpful, especially when figuring out the difference between very similar options – e.g., Flatten and Planar.
Tactile upgrades
In their default configuration, the smooth stylus glides over the slick glass display like nothing. For art, this is more irritating than pleasant; a bit of friction really helps.
When I got my tablet back in 2020, I wanted to learn Procreate for visual art, so I installed a Paperlike screen protector, and that's worked very well for the past few years. I love the reduction in glare, too. While some people complain about a slightly lower resolution, I don't even notice it.
This year, I started doing more drawing, and ended up buying a set of "MJKOR Soft Paperfeel Damping Tips", which replace the Pencil 2's screw-in tip and are working wonderfully. In fact, I prefer them to the original tip for all activities, but that extra bit of friction makes precise work especially pleasant. I also tried some silicone tip covers, but those noticeably reduced the precision of the stylus.
First project(s)
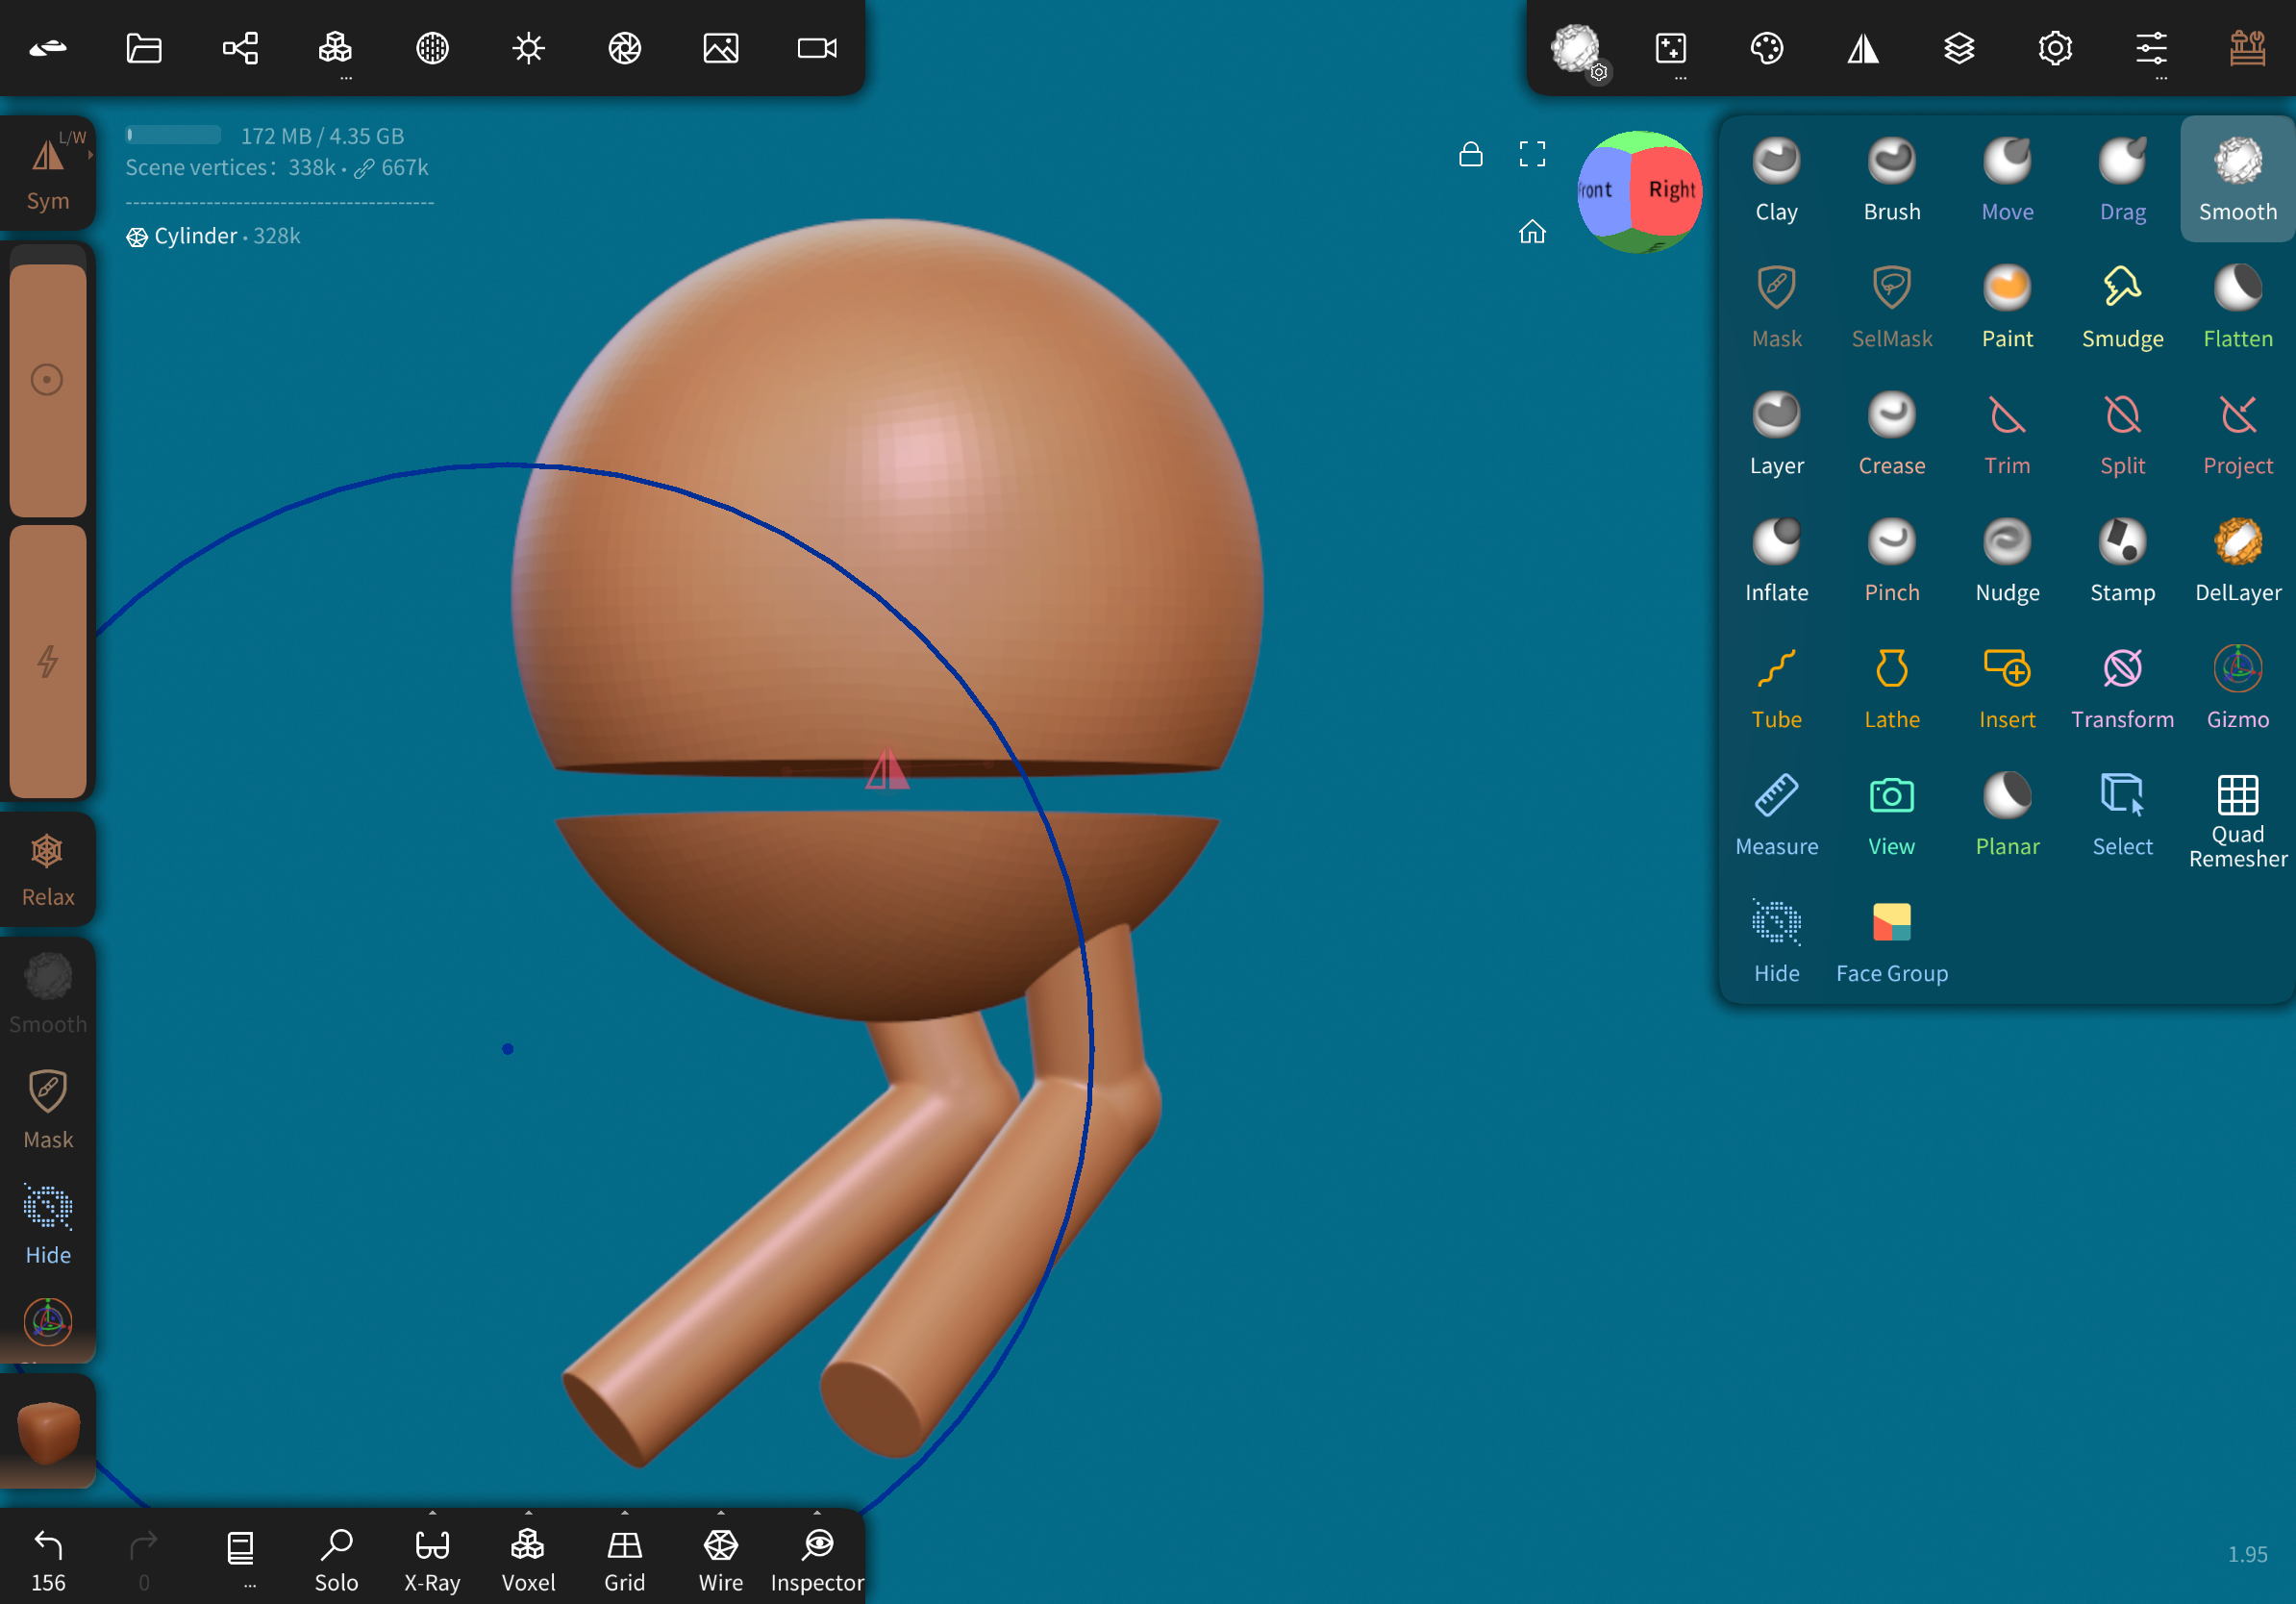
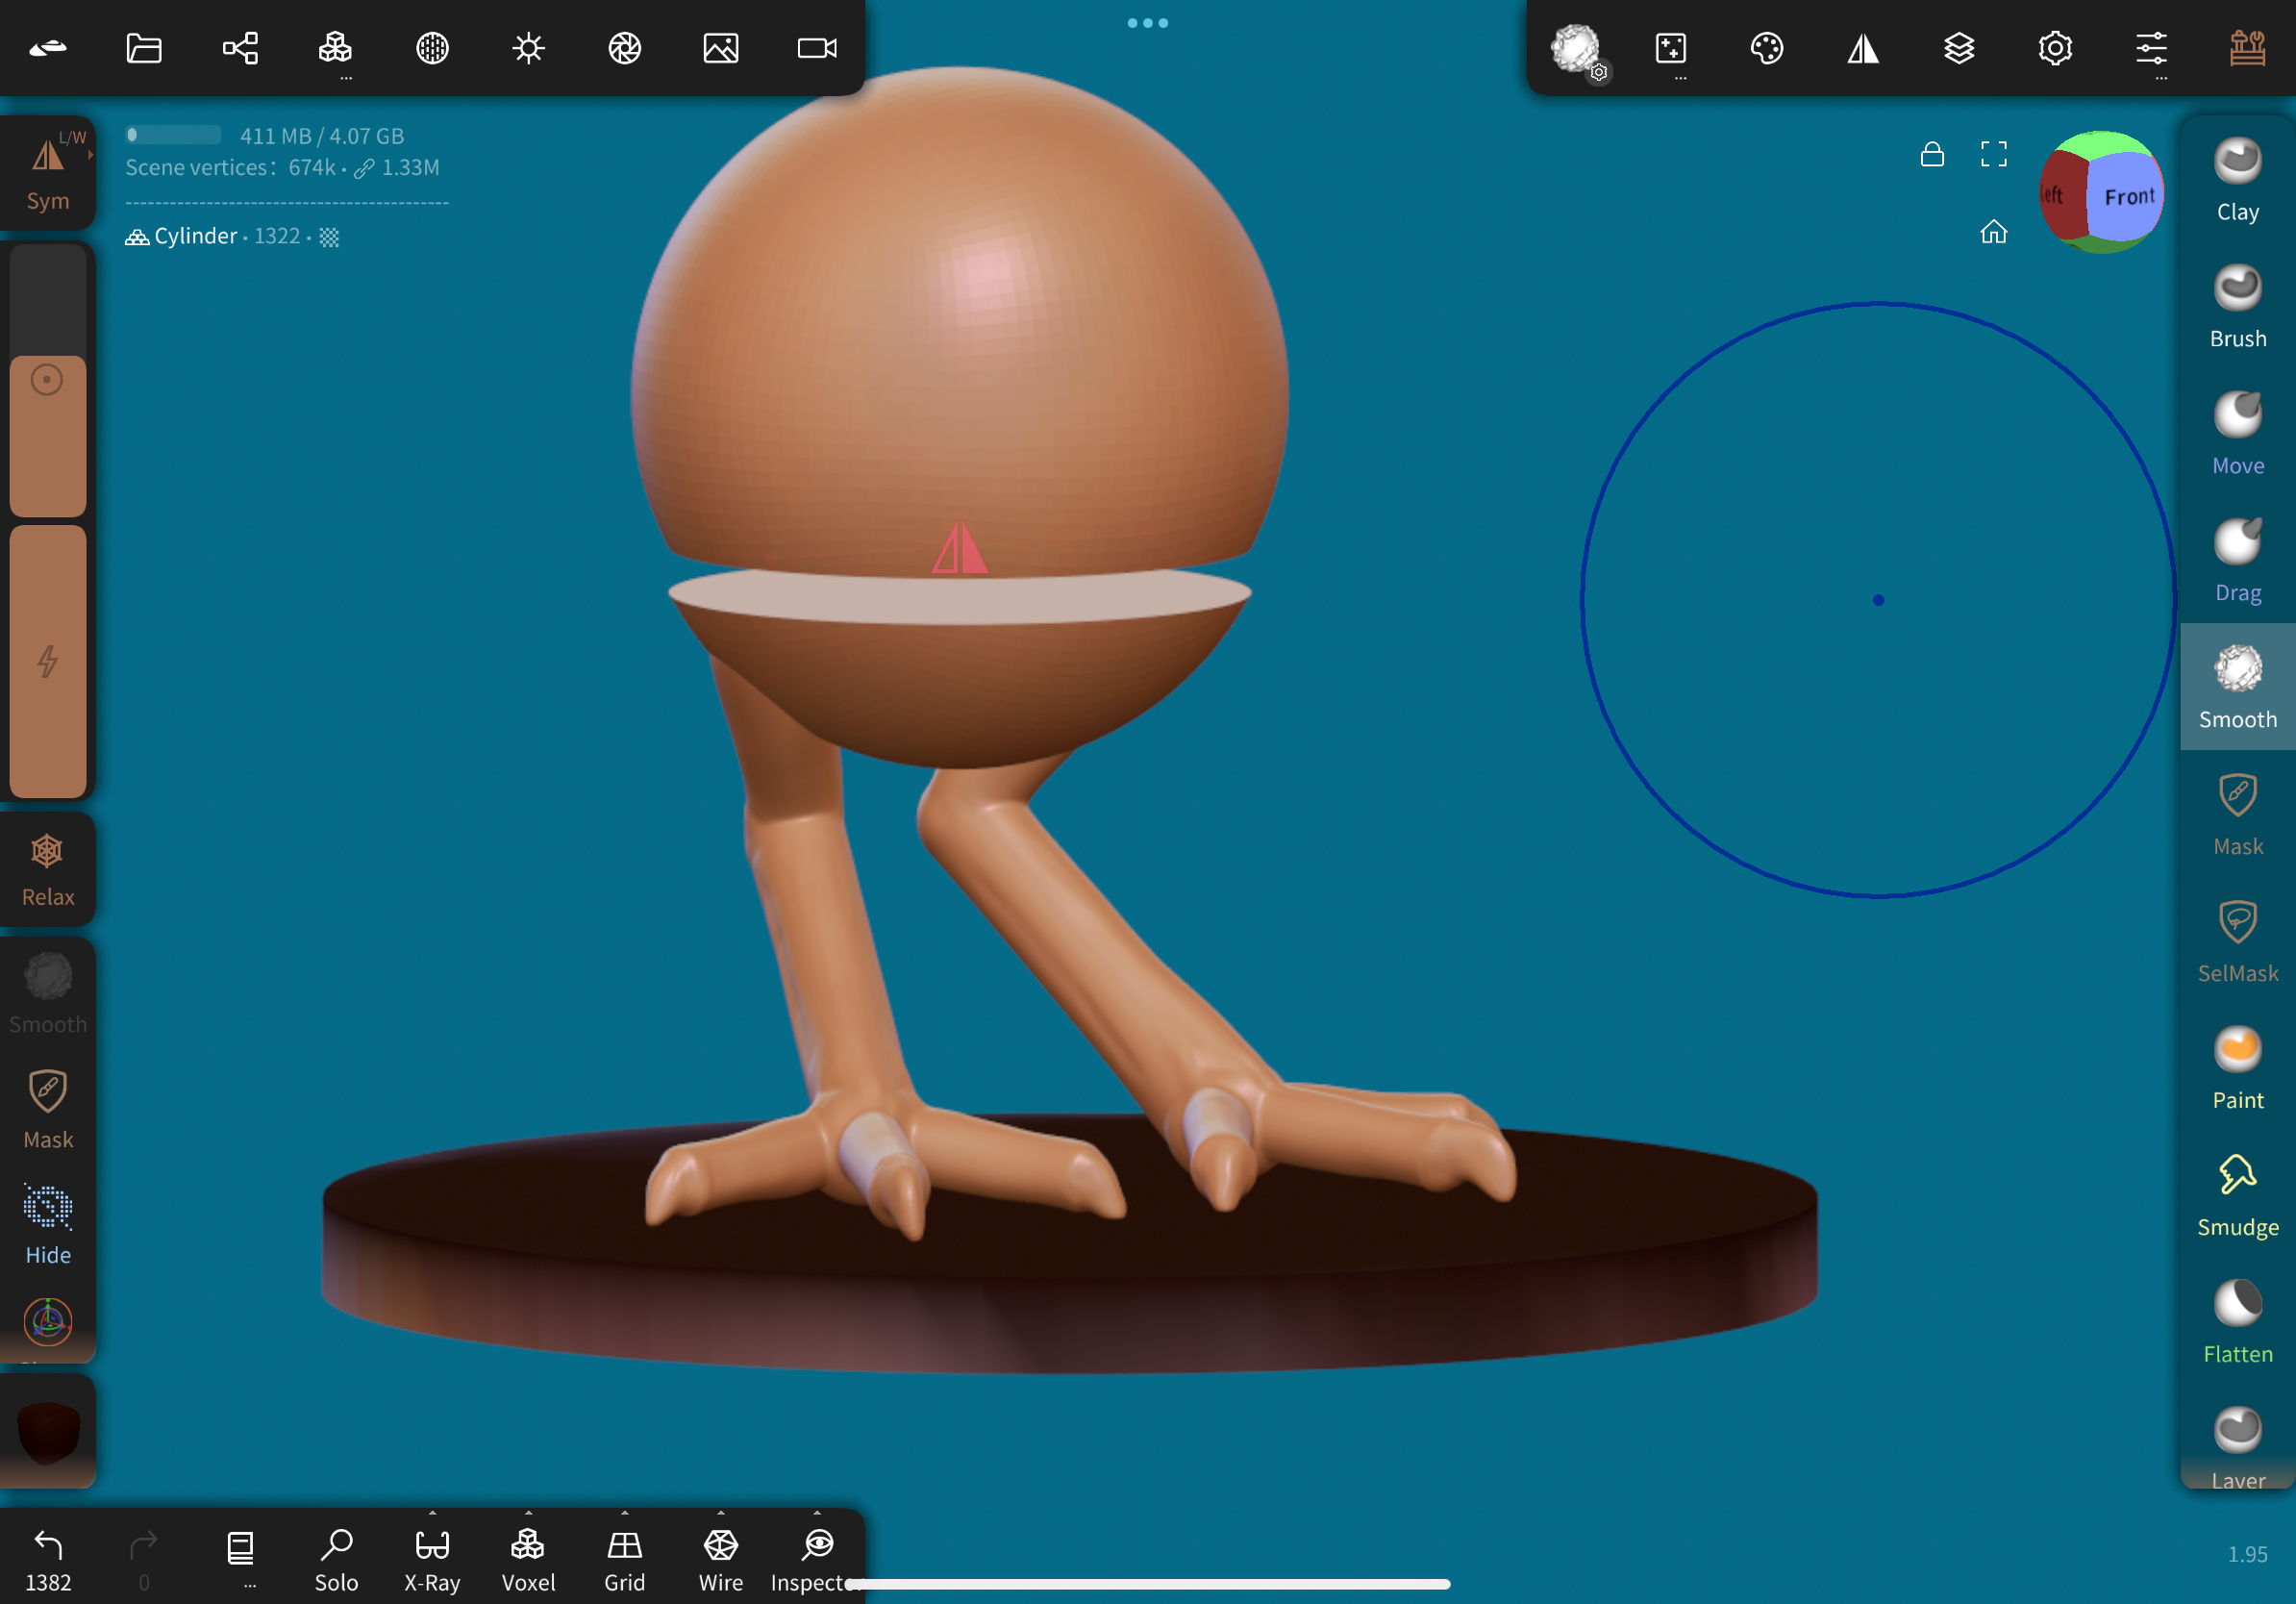
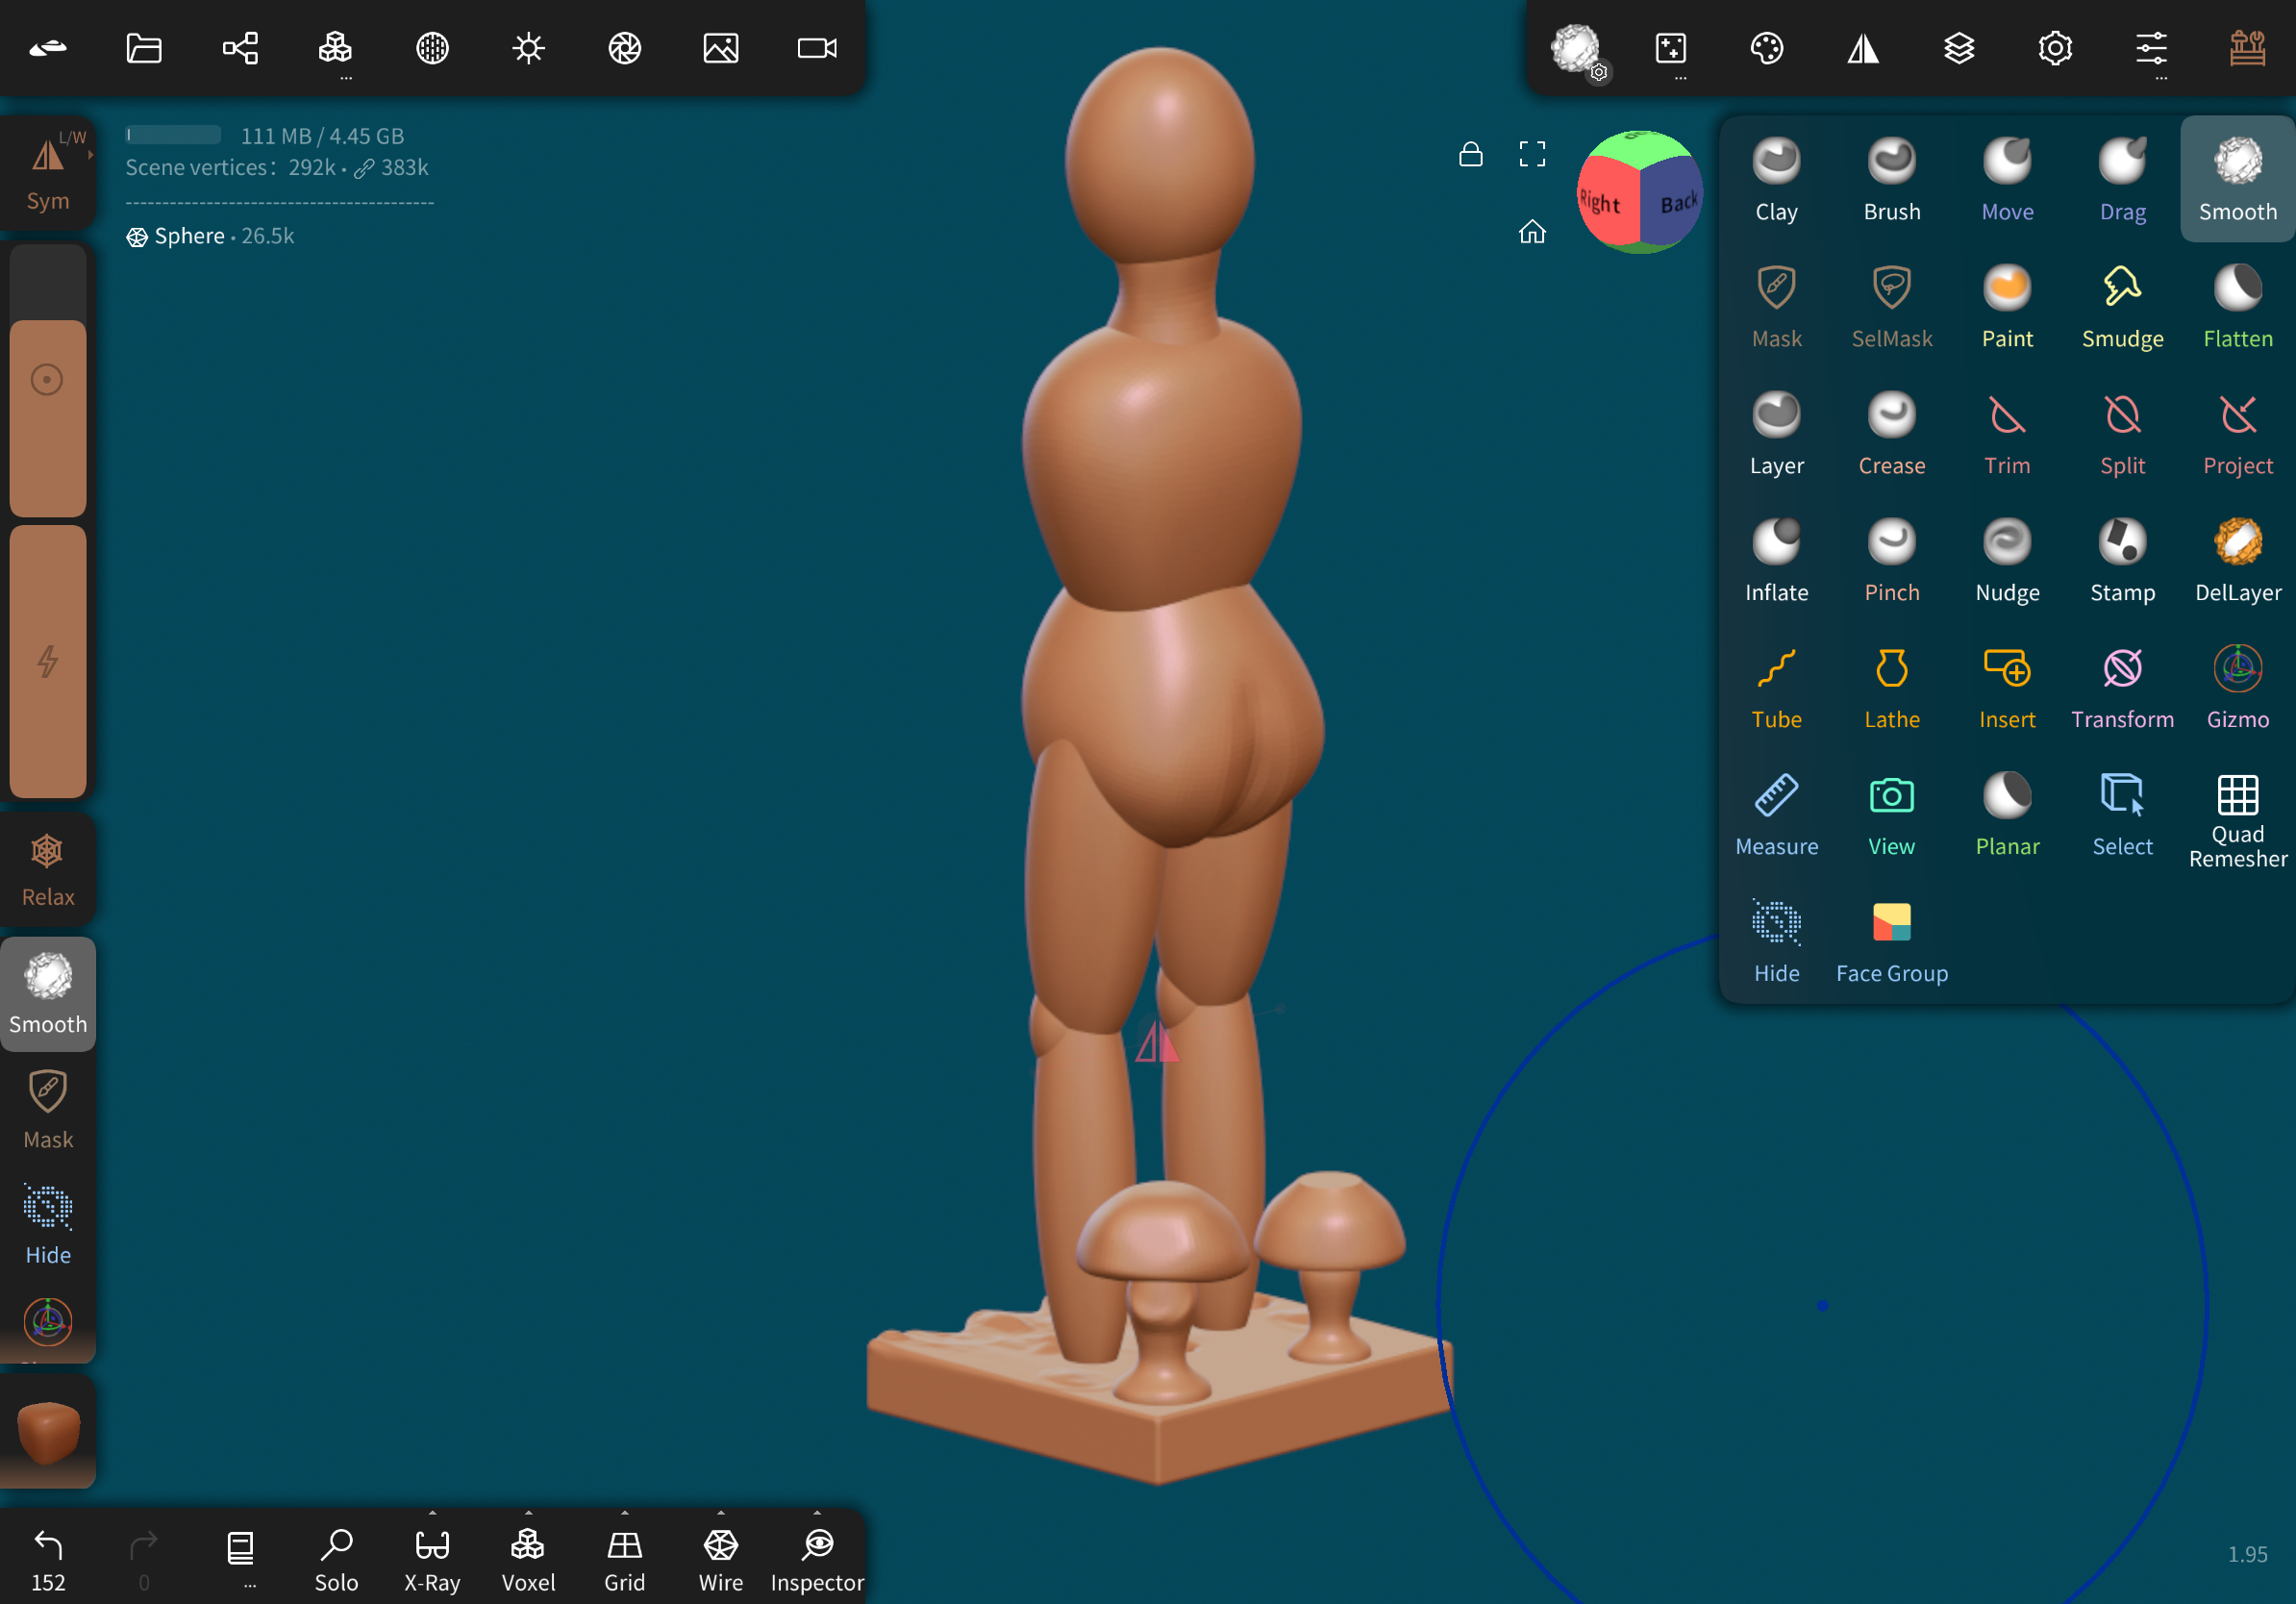
I can't lie... my first test project was a very rudimentary person with a well-developed, shapely behind. (And a couple little lamps I used to play around with the snapping feature.)
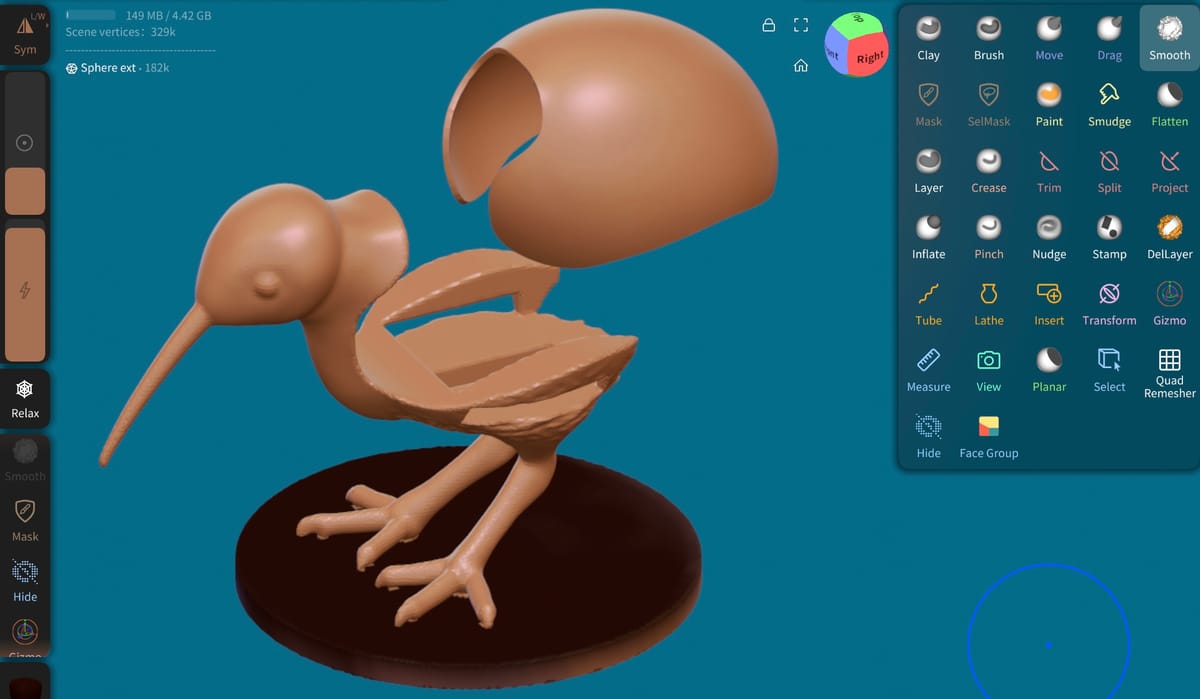
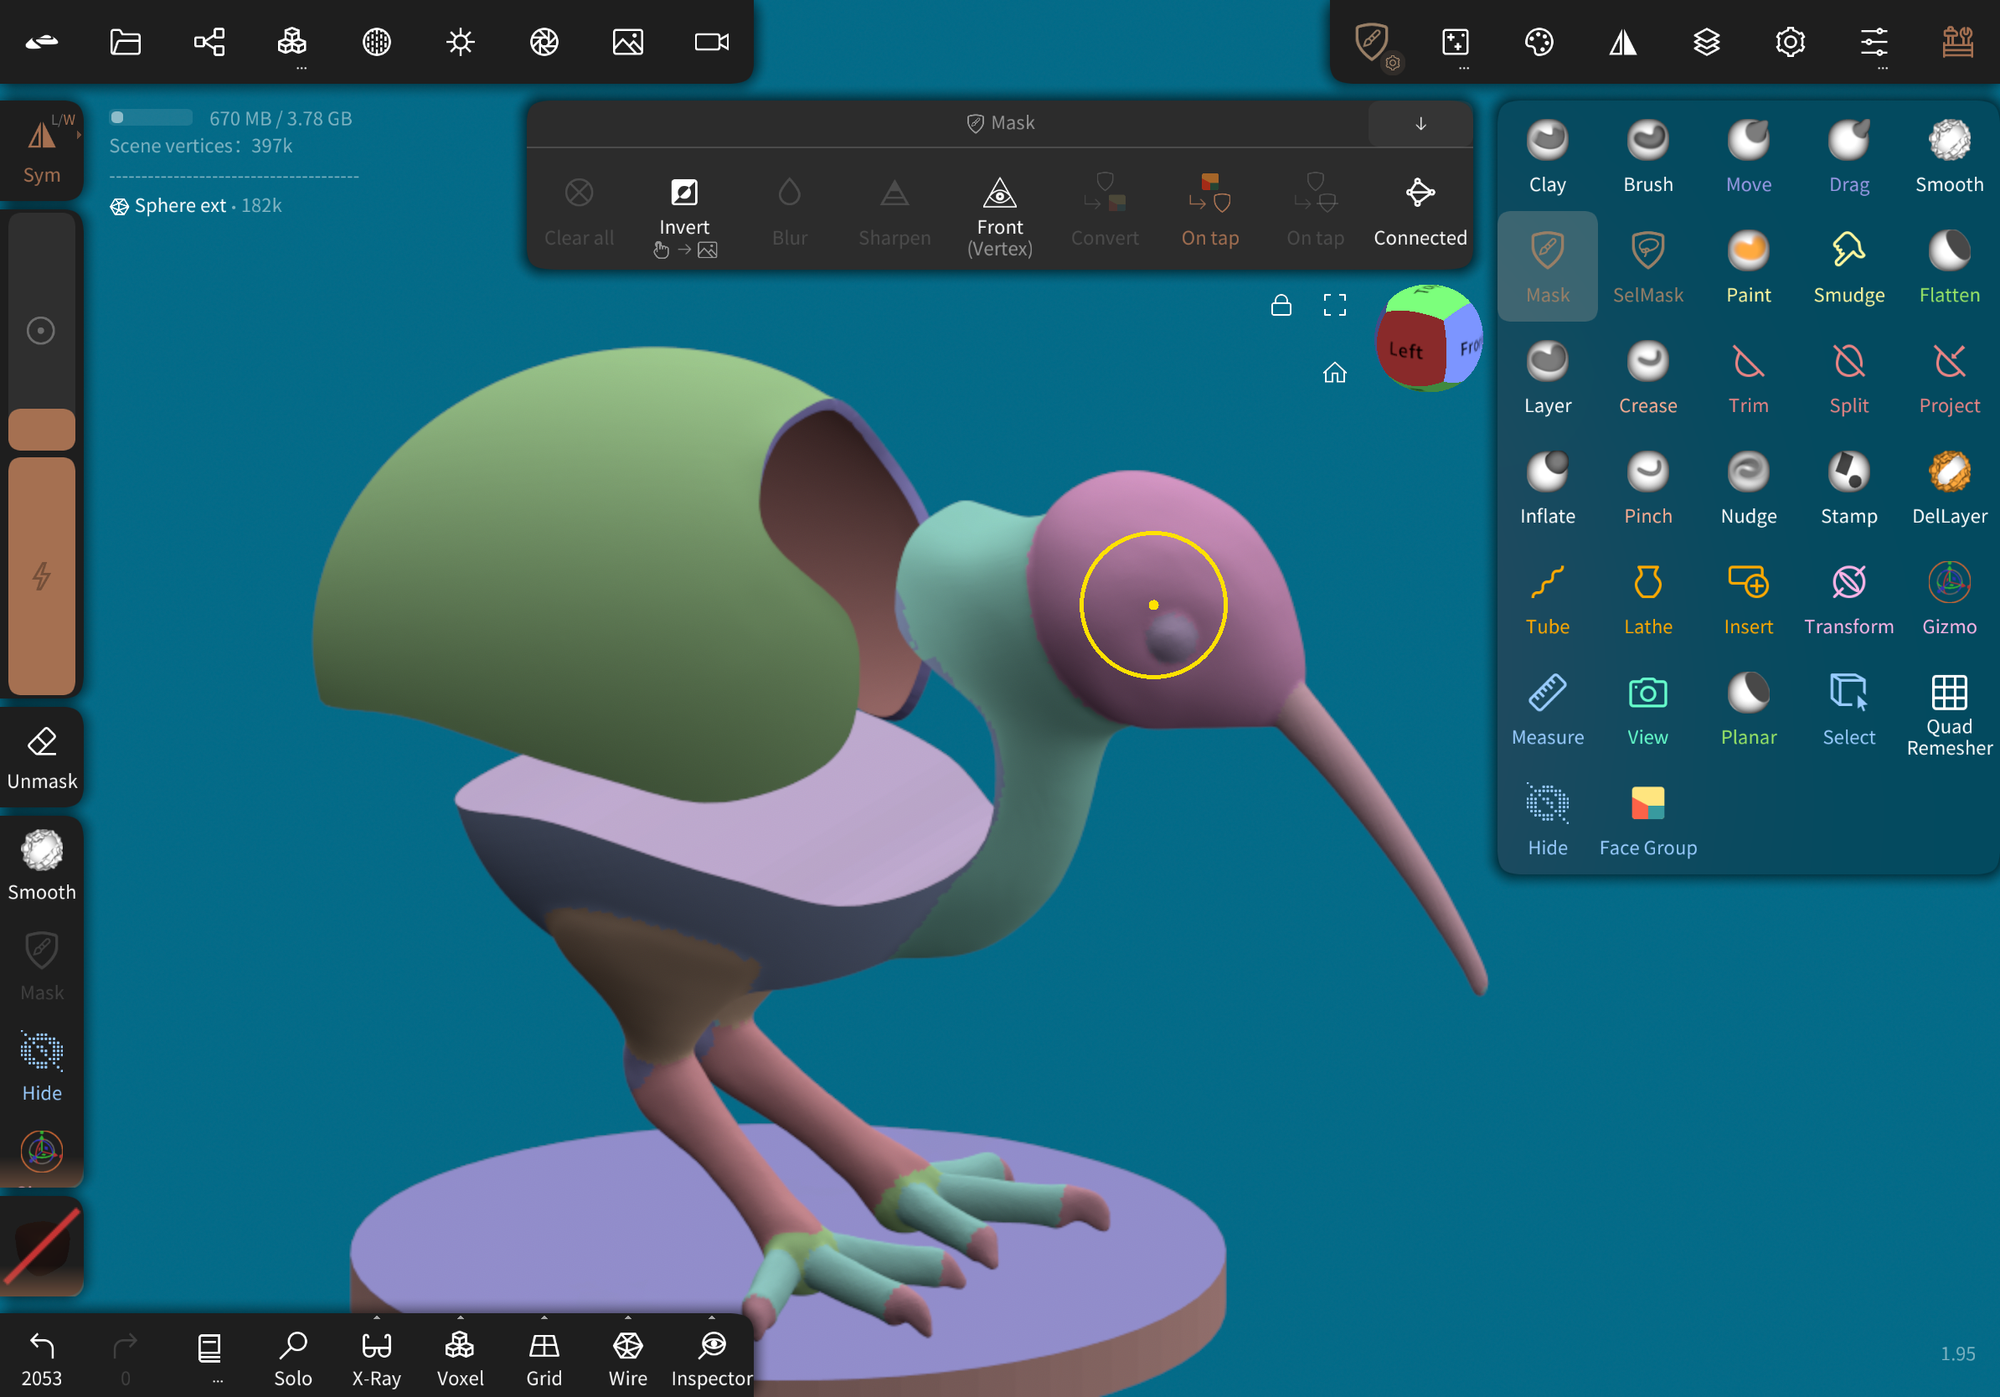
My second project – my first "real" sculpt – was this little kiwi! I spent hours on it: sculpting the bird, angling the legs just right, and learning how to slice and hollow the body to create an enclosure. I'm honestly quite happy with how it turned out.
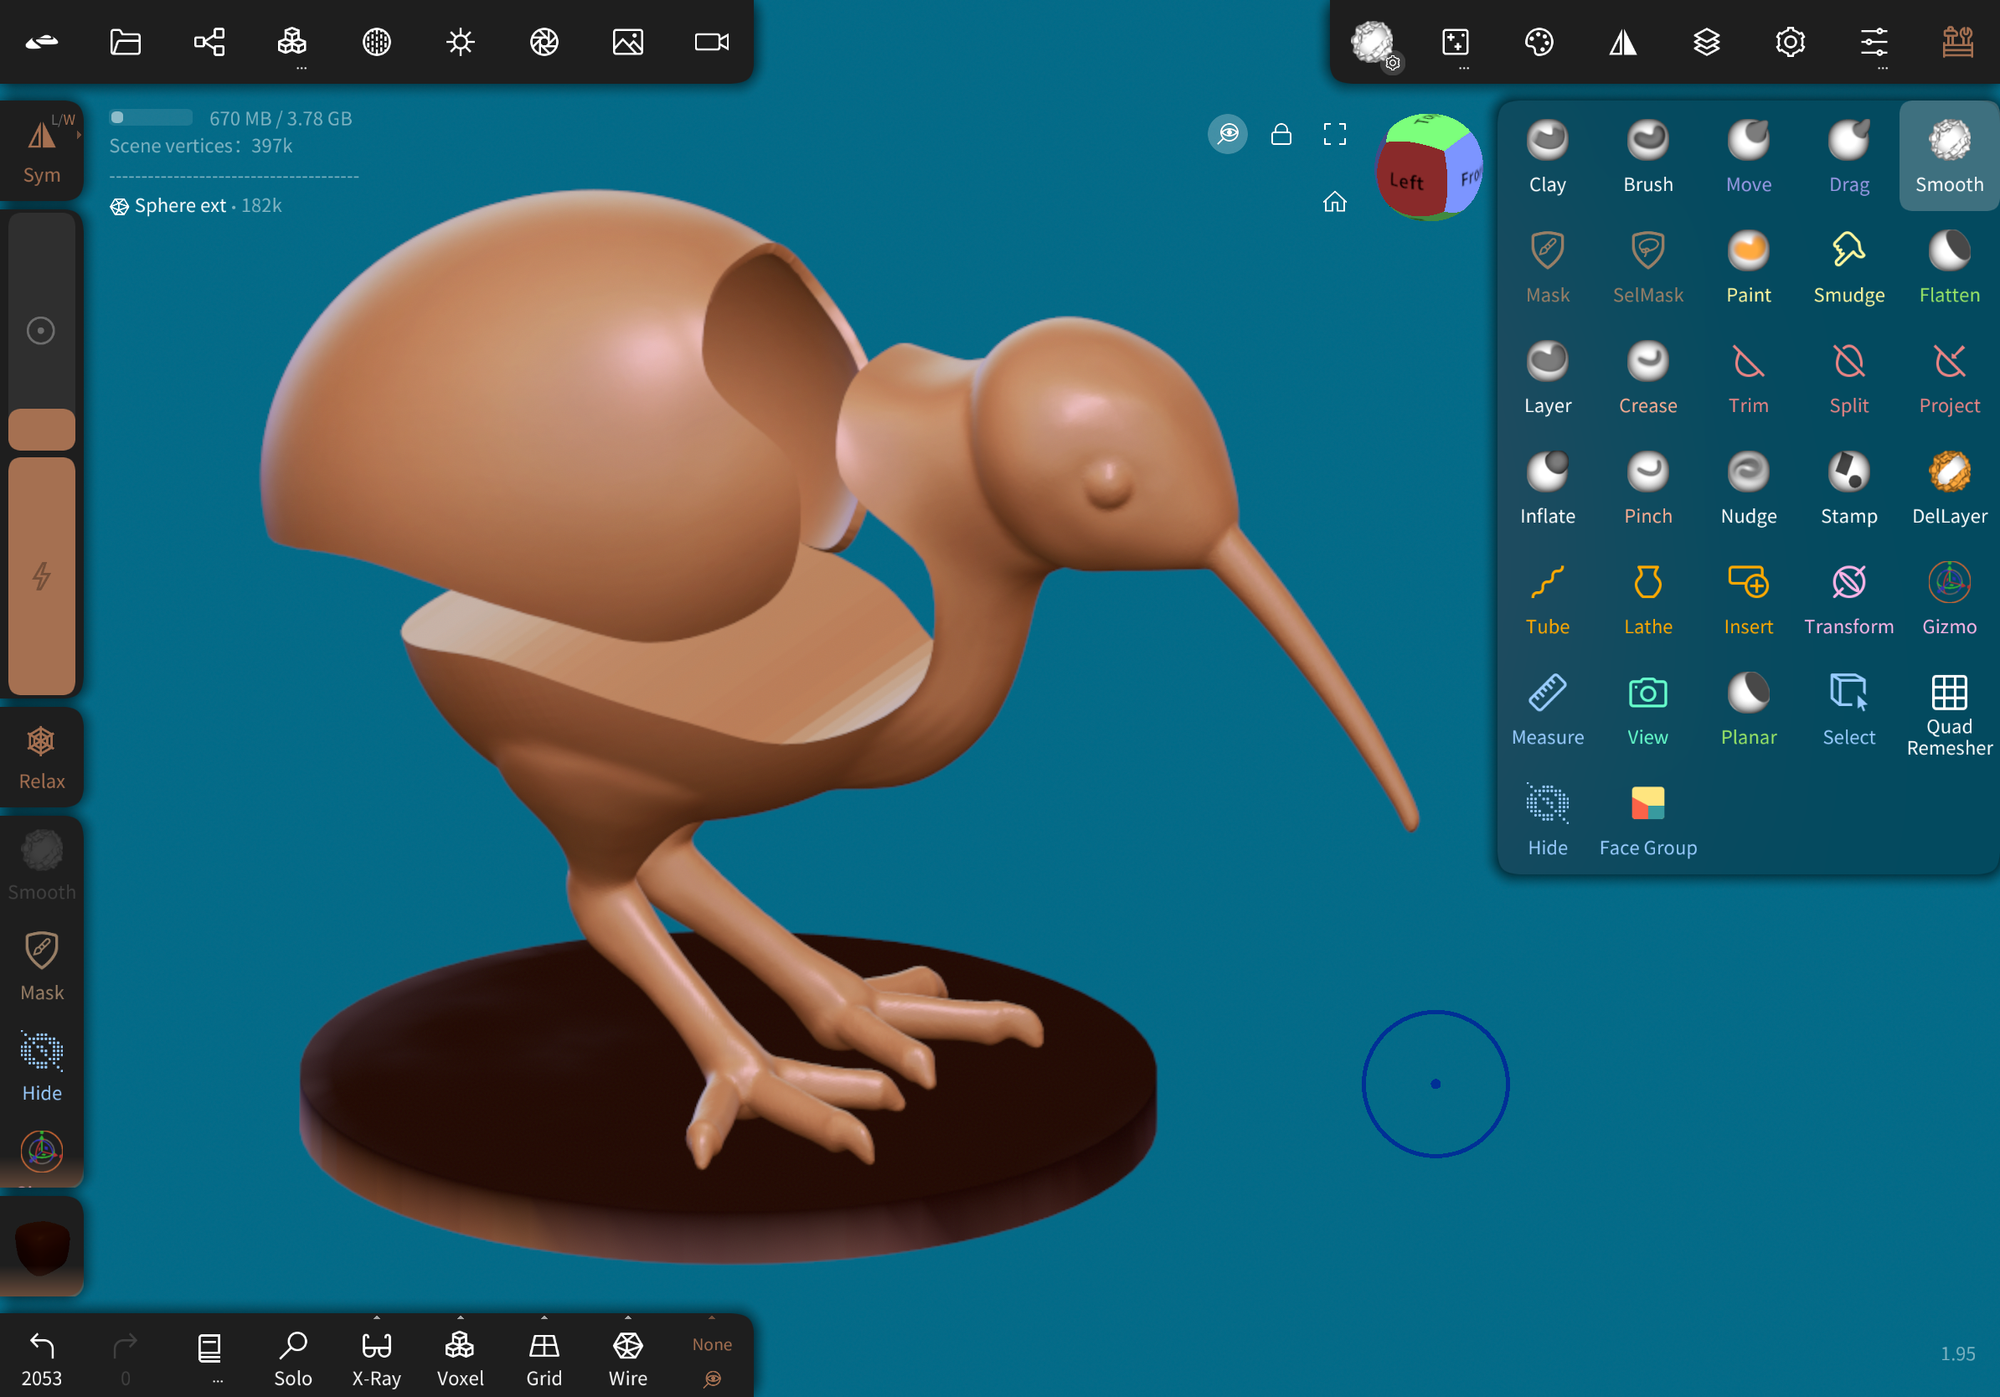
The X-Ray view was really helpful with blending the shapes together, and that mask/extract tutorial above was instrumental in creating the hollow top shell.
One major issue, though: THE SIZE.
Nomad doesn't use absolute units.
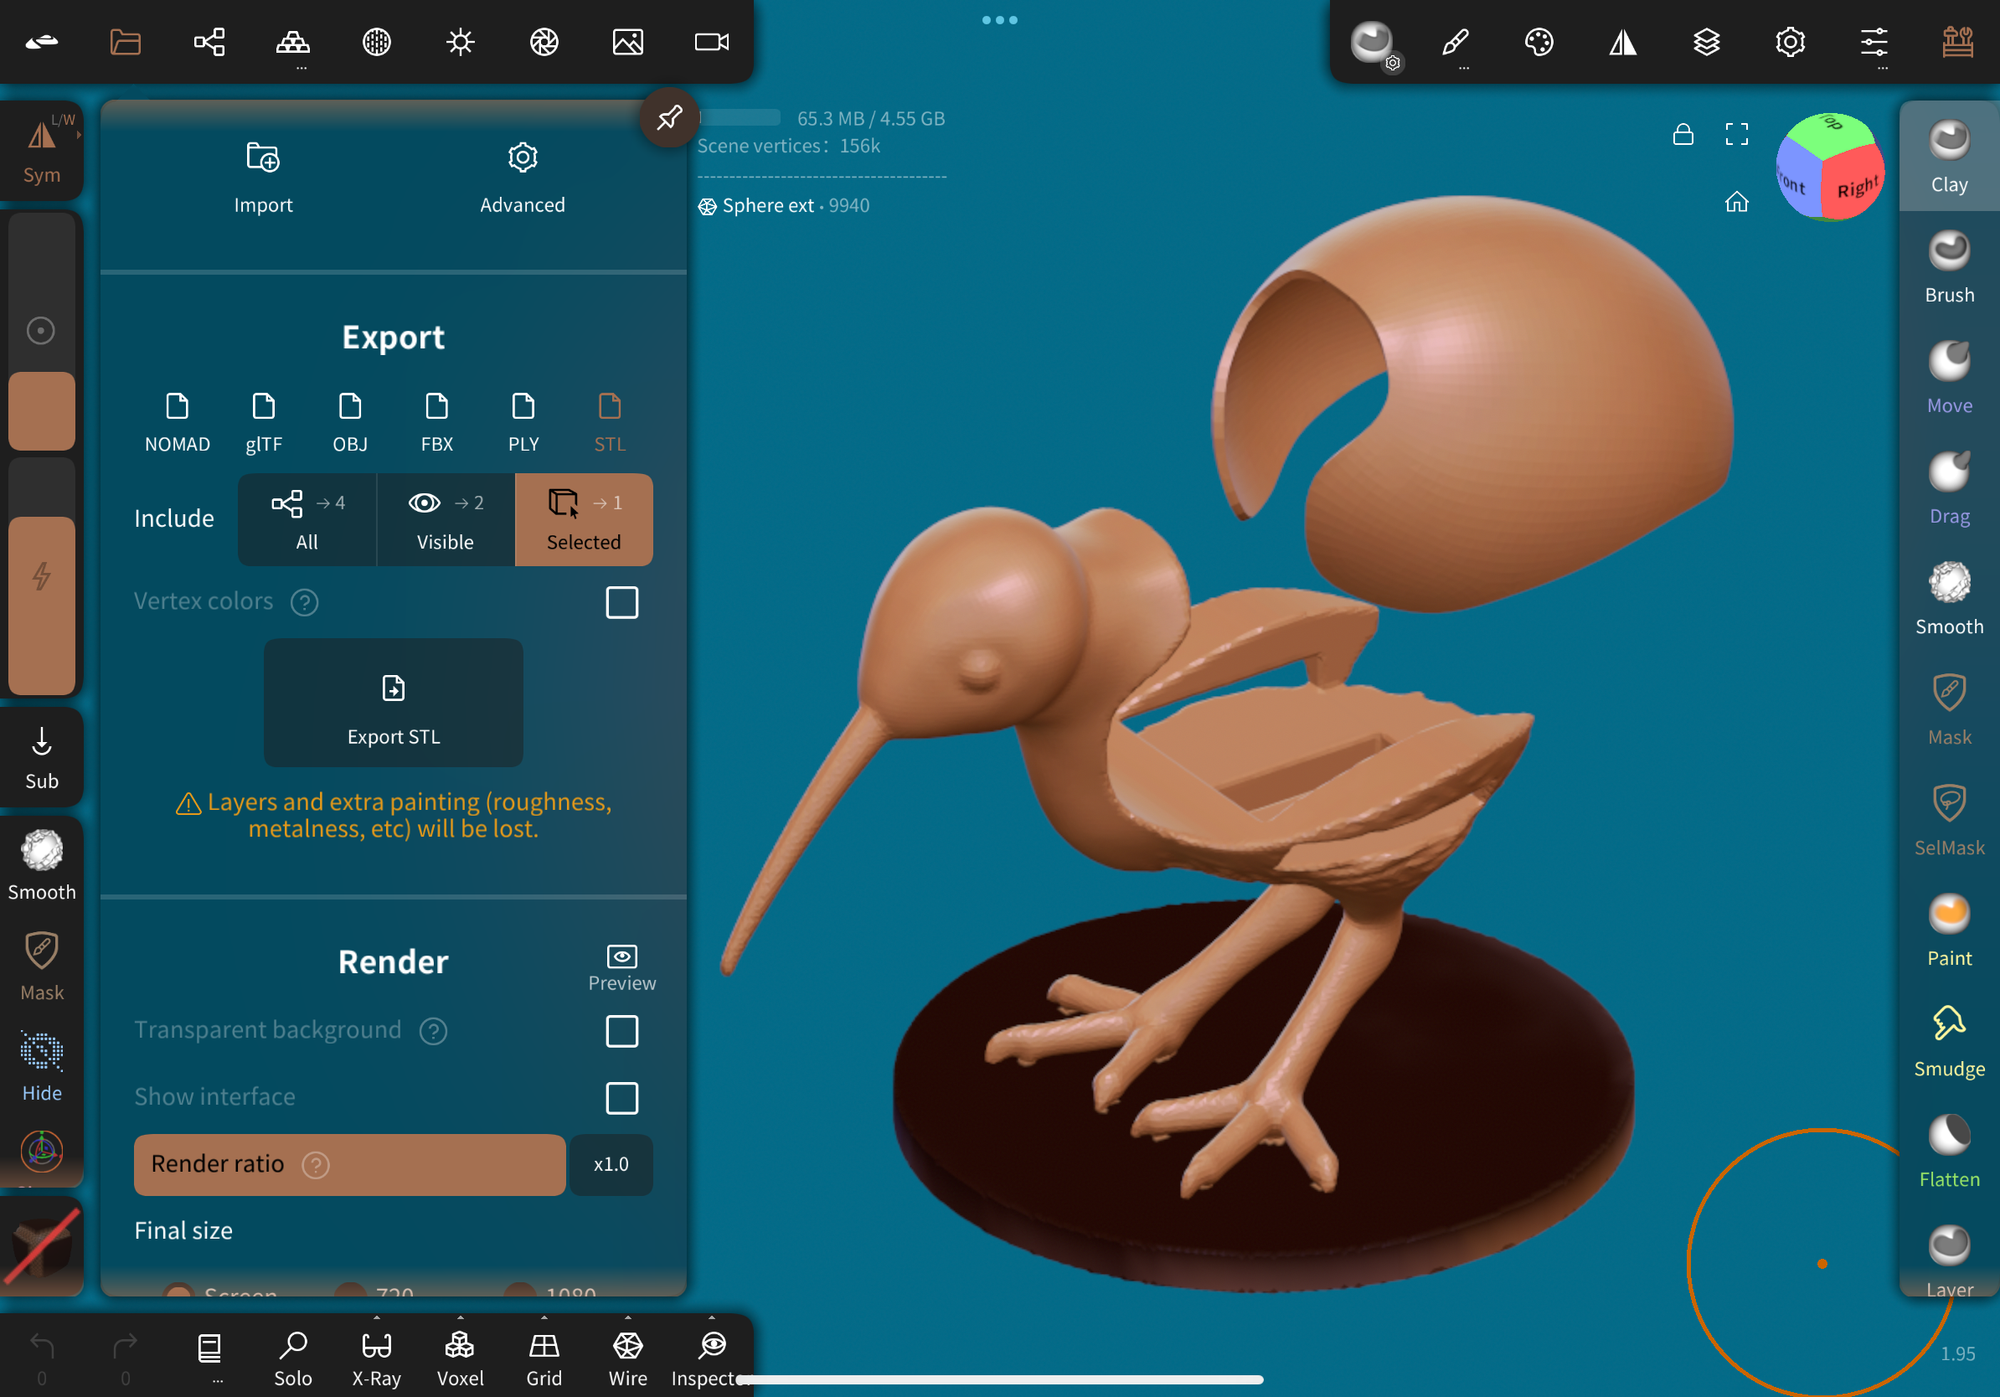
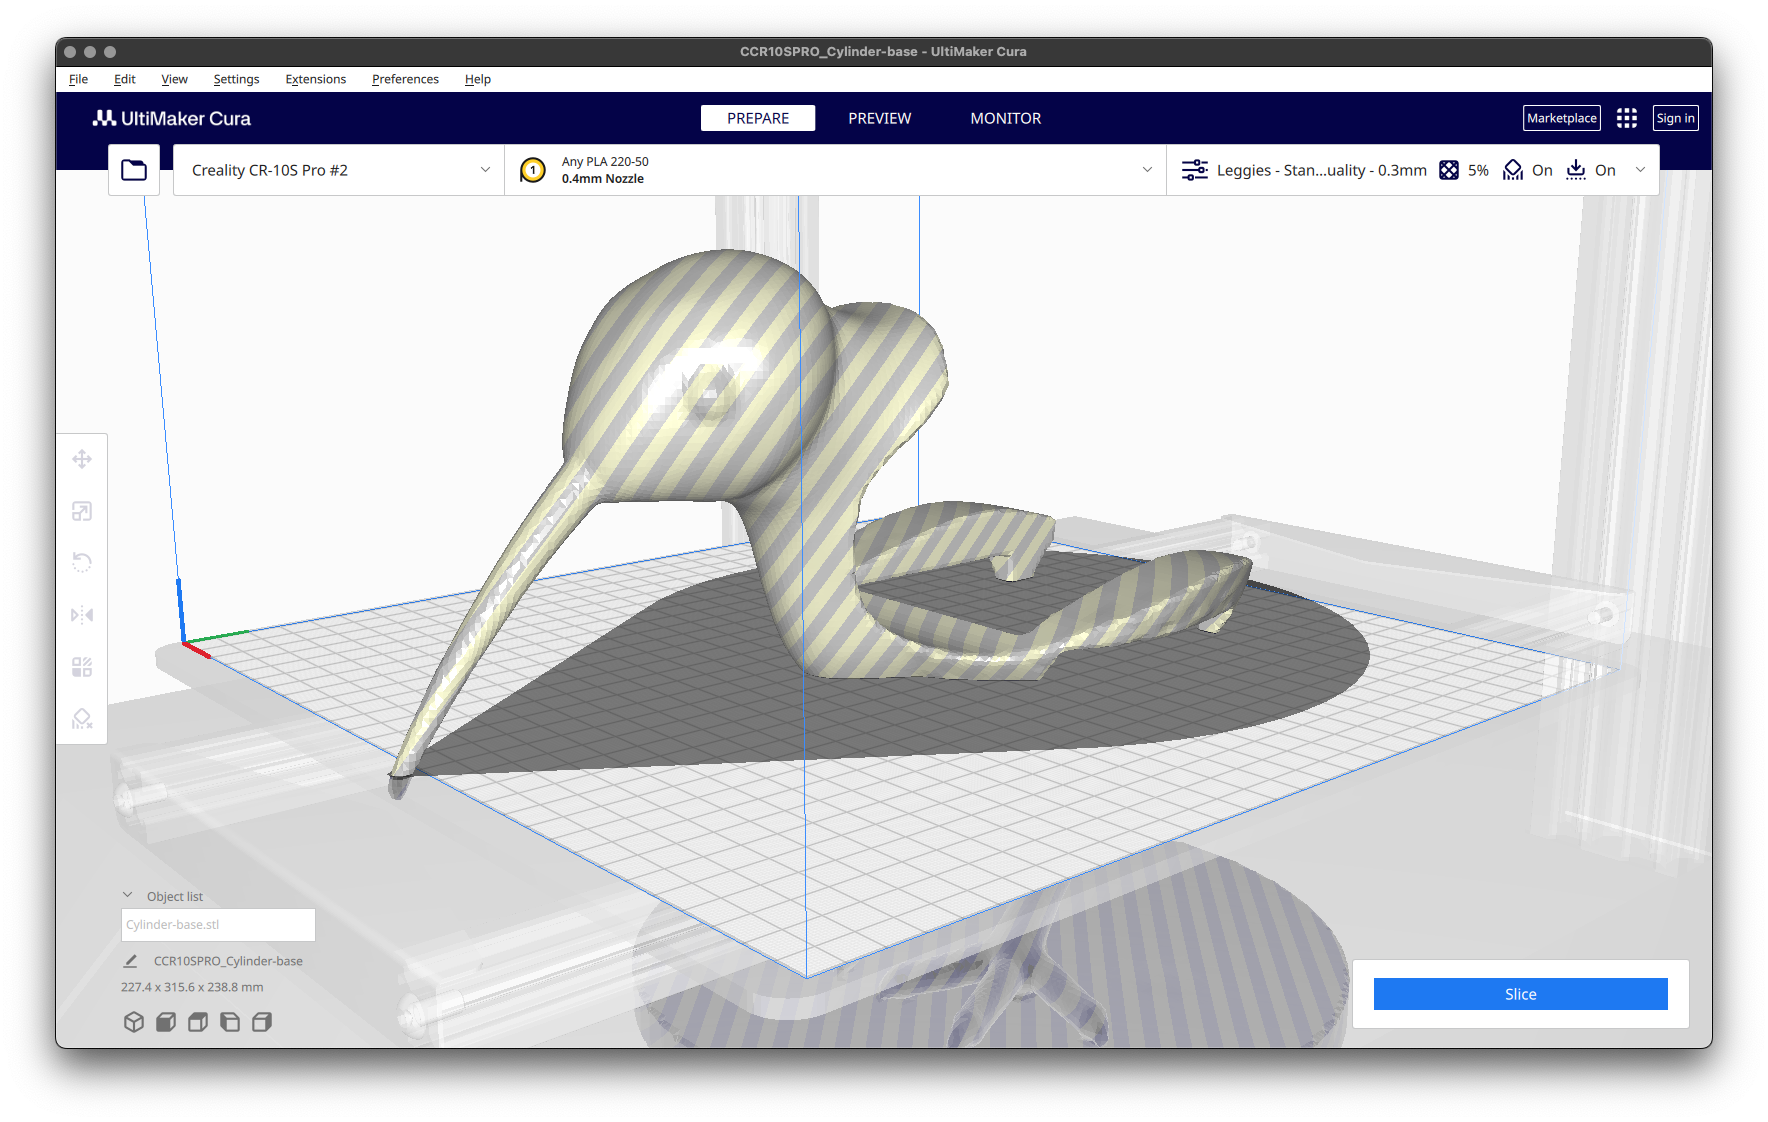
So, when I exported this little guy to an .stl file, then pulled it into the Cura slicer...

It looked a little lonely. Apparently, the import size can depend on the slicer you use? Anyway, here's a tutorial that helps with figuring out rough sizes in Nomad (I guess each of those blocks is about 1mm^3?), although it doesn't really work for true parametric modeling. For that reason, I'm planning to mash up organic sculpted models with parametric structures I create in Onshape – possibly using Tinkercad or Blender to stick them together.
Blowing up to full-size didn't help much, since I hadn't realized how big the kiwi was compared to the size of a Pi (or perhaps I got the multiplier wrong):
From here, I could remake it and try again? I have some other ideas, though, so maybe I'll stick with some kind of egg form for this project. So it goes!